
How-To: Create a Slide Master or Template in PowerPoint
Thursday, May 11, 2017
by Stephanie Orges
Life
How-To: Create a Slide Master or Template in PowerPoint
You want to create a branded PowerPoint presentation – something with your logo, fonts and colors. You could design a slide and then copy, paste and modify it every time you need a new one, but that’s time-consuming (and increases your file size).
Instead, use a “slide master.” This is a really efficient way to make style changes to an entire presentation – you’ll even have multiple options for slide layouts, all with the same look.
Here’s how to create a slide master:
1. Click “View” > “Master” > “Slide Master.” This opens the Slide Master view. You’ll see there are already several layout options in the side pane.
2. Select the “Slide Master” (the bigger one in the side pane) to make changes to all the layout options (like choosing fonts and backgrounds, adding your logo, and more).
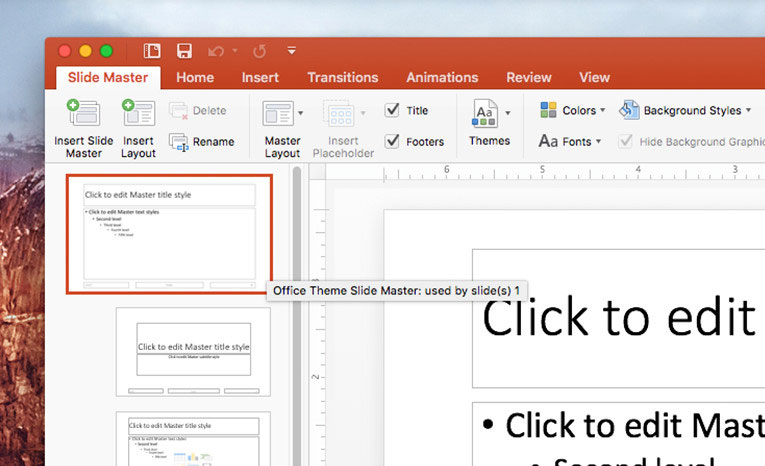
To modify one layout option but not the others (like adding placeholders for charts or text), select that individual layout.
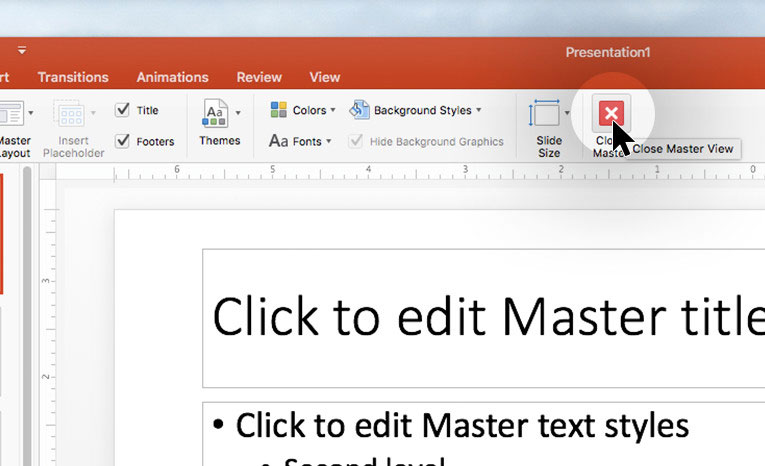
3. Under “Master View,” click “Close.” This will return you to your actual presentation. Now all your new customized slide layouts will appear in the “New Slide” drop-down (no more copy/pasting!).
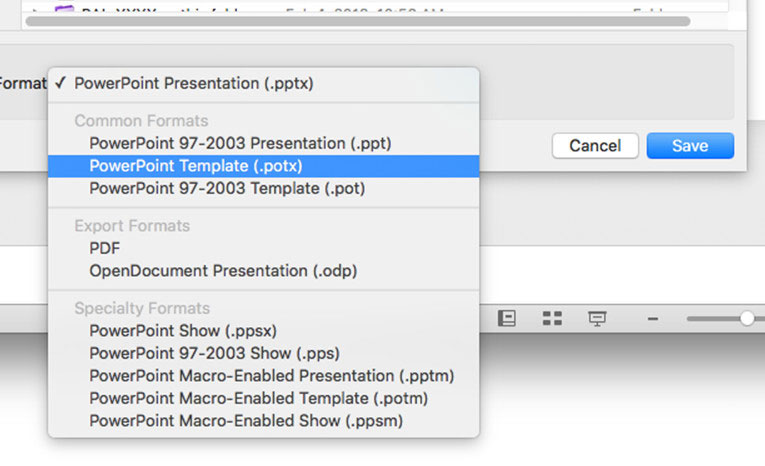
To make your slide master available for future presentations, save it as a template:
- While in the Slide Master view, click “File” > “Save As.”
- Type a name for your template.
- Under “Format,” set it to “PowerPoint Template.”
- Finally, click “Save.”
Now you can access the template any time by clicking “File” > “New from Template” and selecting “My Templates.”
Learn more with these 11 tips for your presentation’s structure and design.
Tags: How–to