How to Convert Any Image Into a Facebook 3D Photo
Friday, January 11, 2019
Marketing
How to Convert Any Image Into a Facebook 3D Photo
Have you seen Facebook’s 3D images? They’re pretty cool! Facebook figured out a way to use the data stored on Portrait Mode images – called a depth map – and apply a parallax effect, turning them into 3D images that respond to the accelerometer on your phone. Techie talk aside, it makes for a cool experience.
Now the question is, “How do I use this to help my brand stand out?” There’s a perceived limitation that you can only use images shot with a dual-camera iPhone in Portrait Mode for this to work, but we’re smarter than that, right? Here’s a tutorial on how to create Facebook 3D images with existing photos.
Tools You’ll Need:
- Image you wish to convert into a 3D photo
- Adobe Photoshop
- Wacom tablet (preferred but not necessary)
- Depth map editor (I use DepthCam)
- A dual-camera iPhone (to post the edited image to Facebook)
How It Works
OK, first let’s help you understand how Facebook interprets the depth map to create the 3D effect.
Here’s a graphic I made to show the effect. All I did was create a smooth and step gradient that goes from black to white.
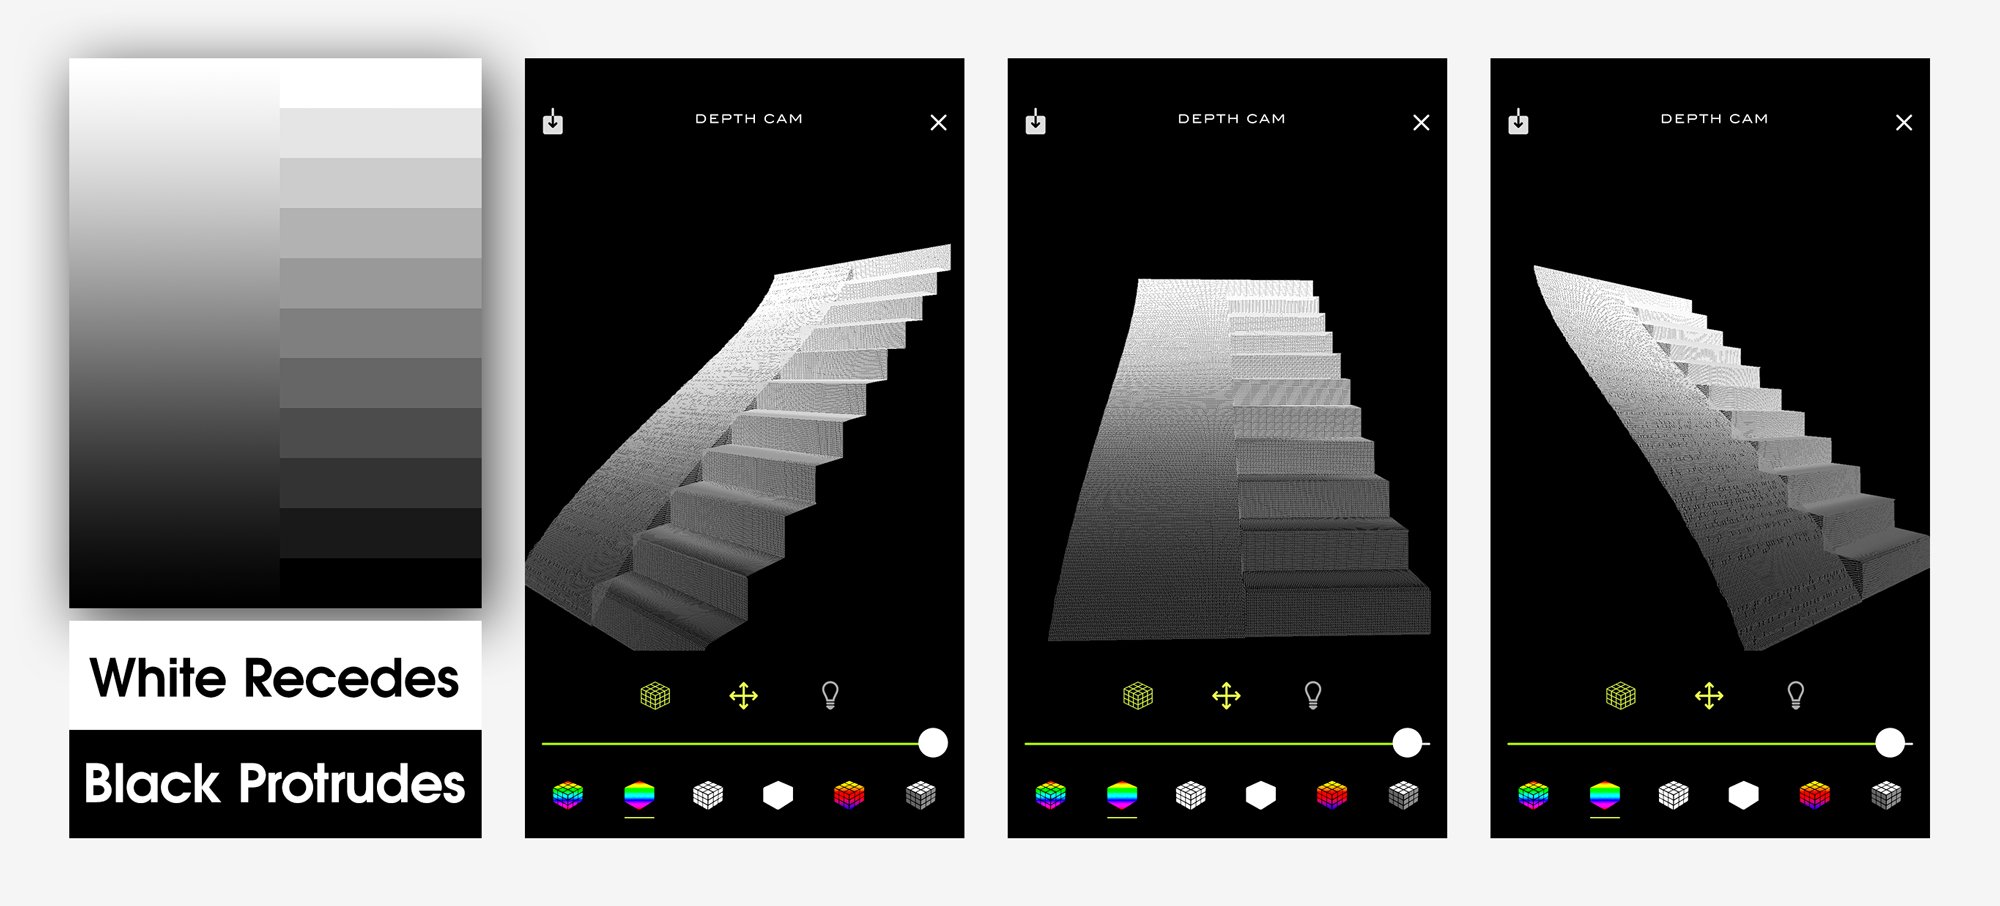
As you can see, what’s shaded in black protrudes toward the camera, while the white recedes away from the camera. This is the key to getting the desired effect.
1. Start with your image
Pull the image you’re trying to turn into a 3D photo. For this demo, I pulled a picture of my dog, Lola, I took in the studio. This was taken with a DSLR camera, not an iPhone, so there is no depth map.
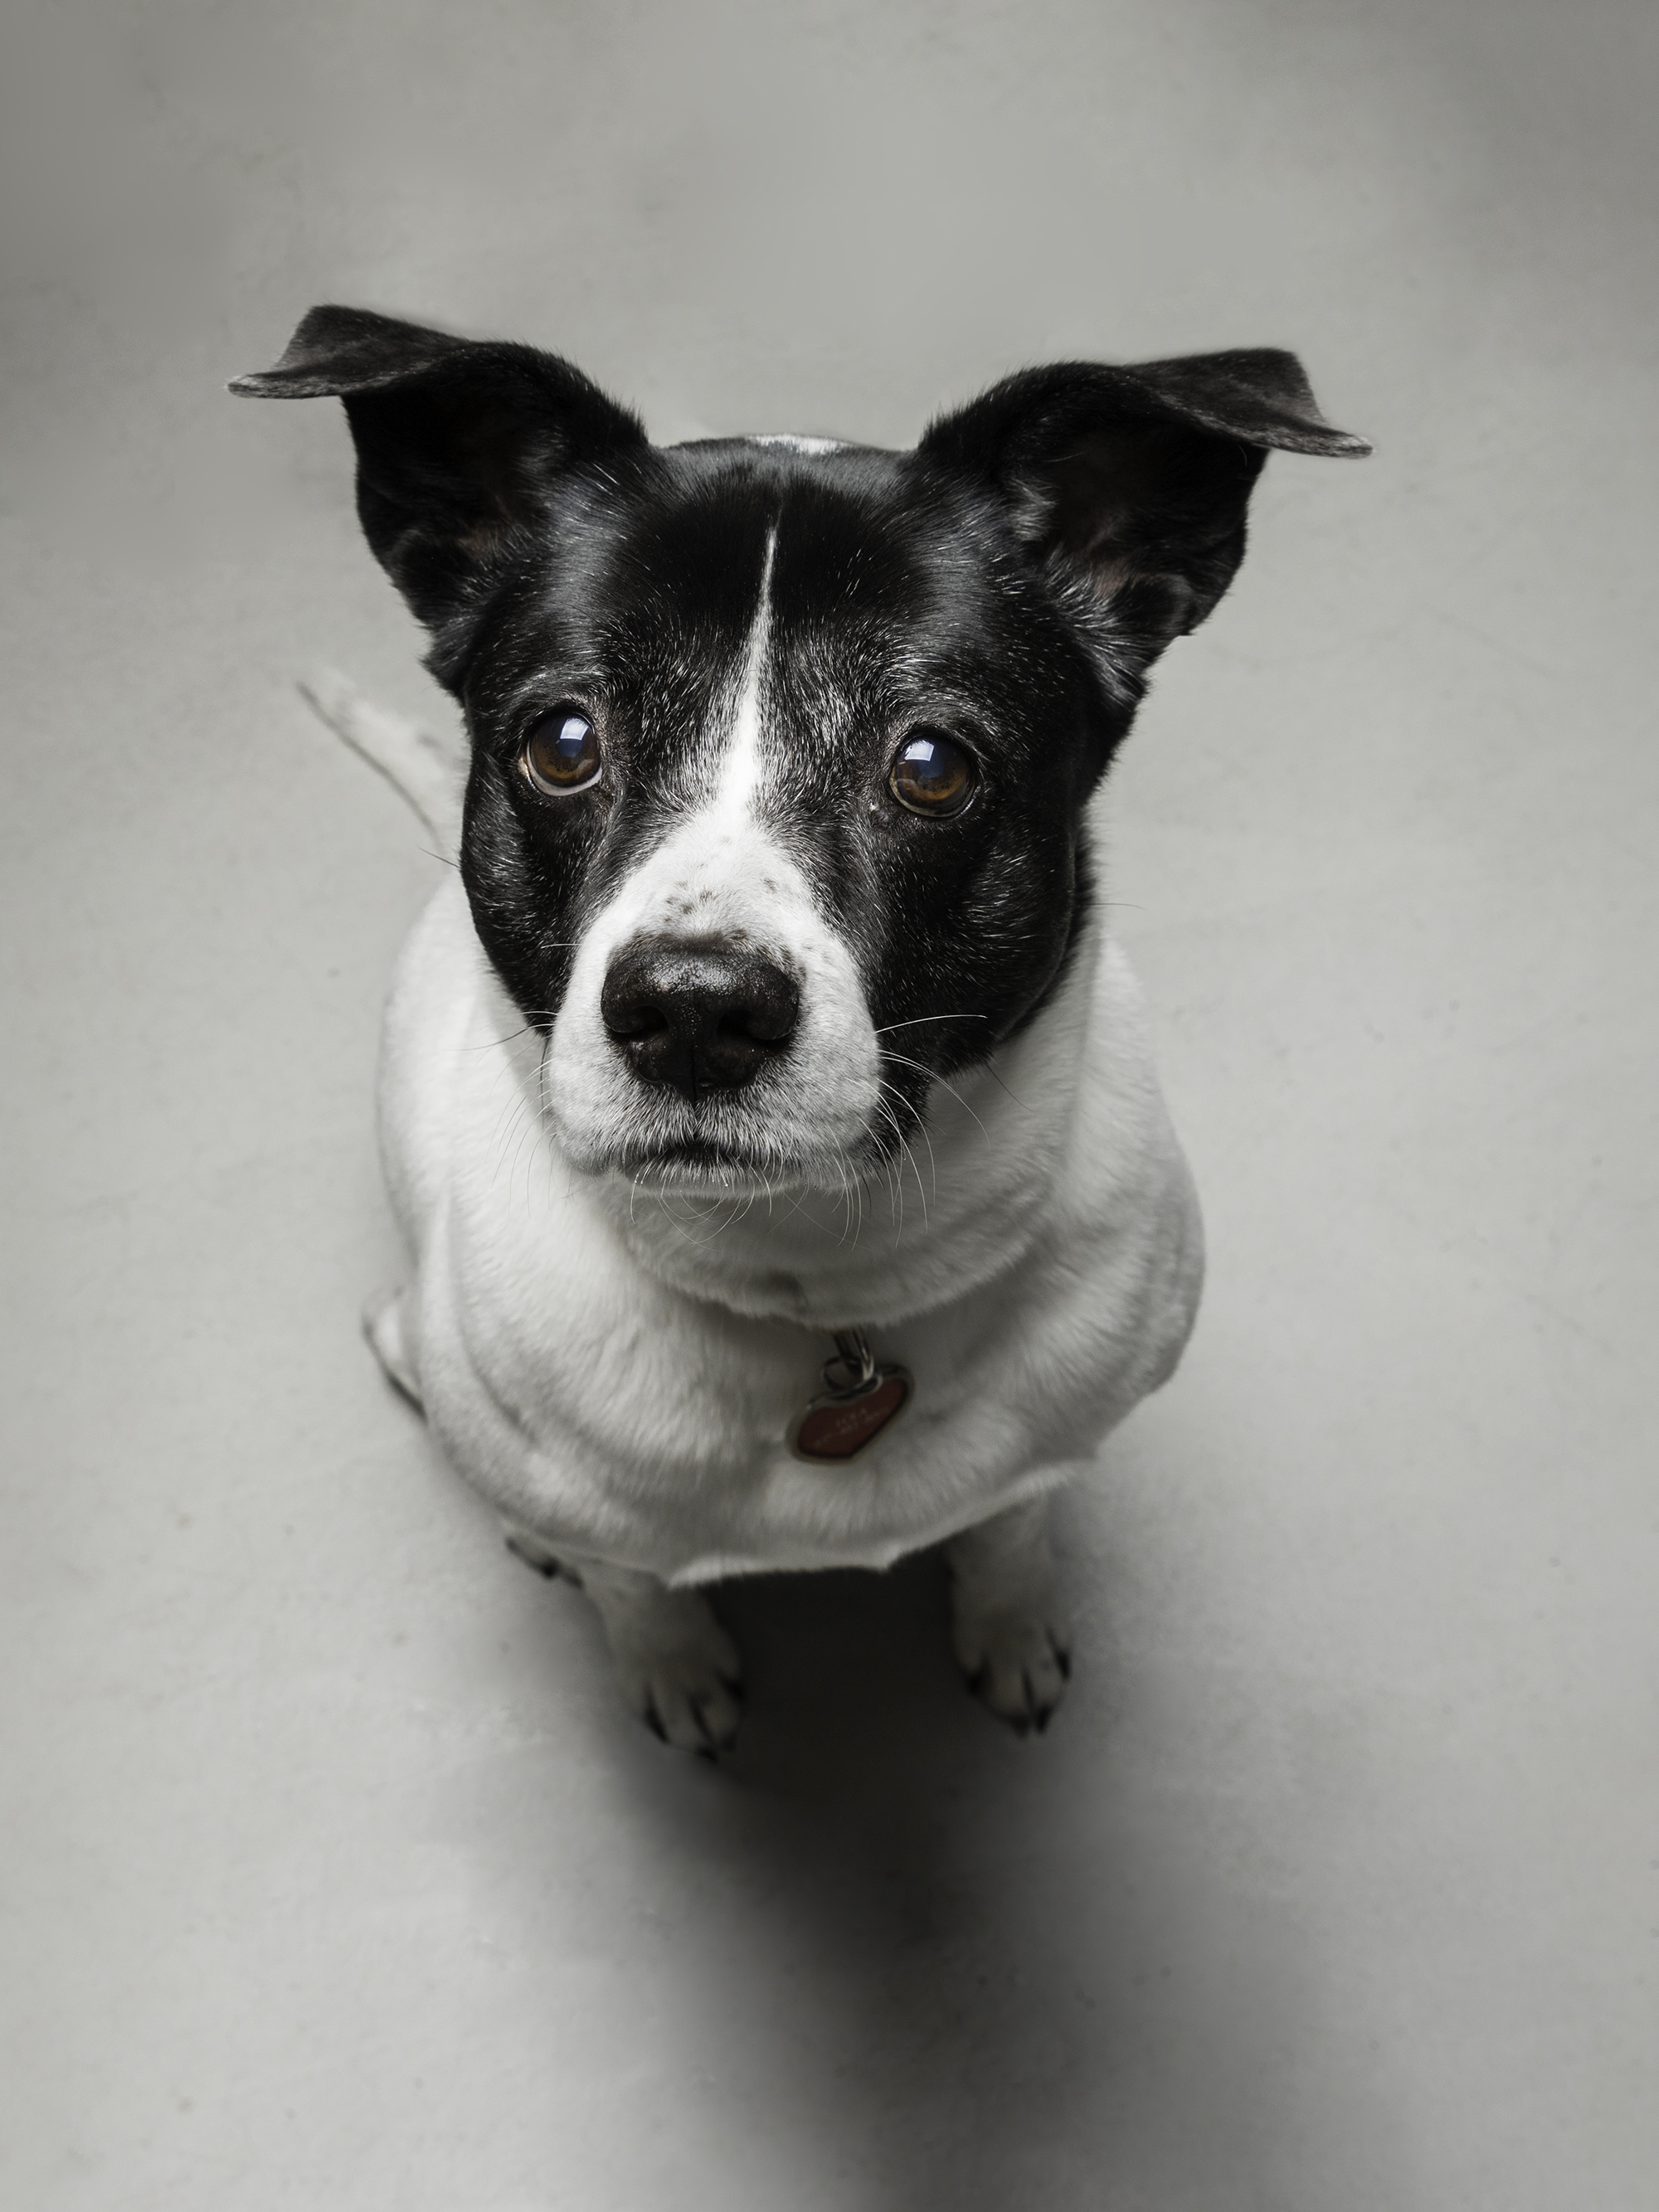
The biggest advantage here is that not only are we using a professional camera, but we can also utilize strobe lights to get a much higher quality picture than you could with just a phone.
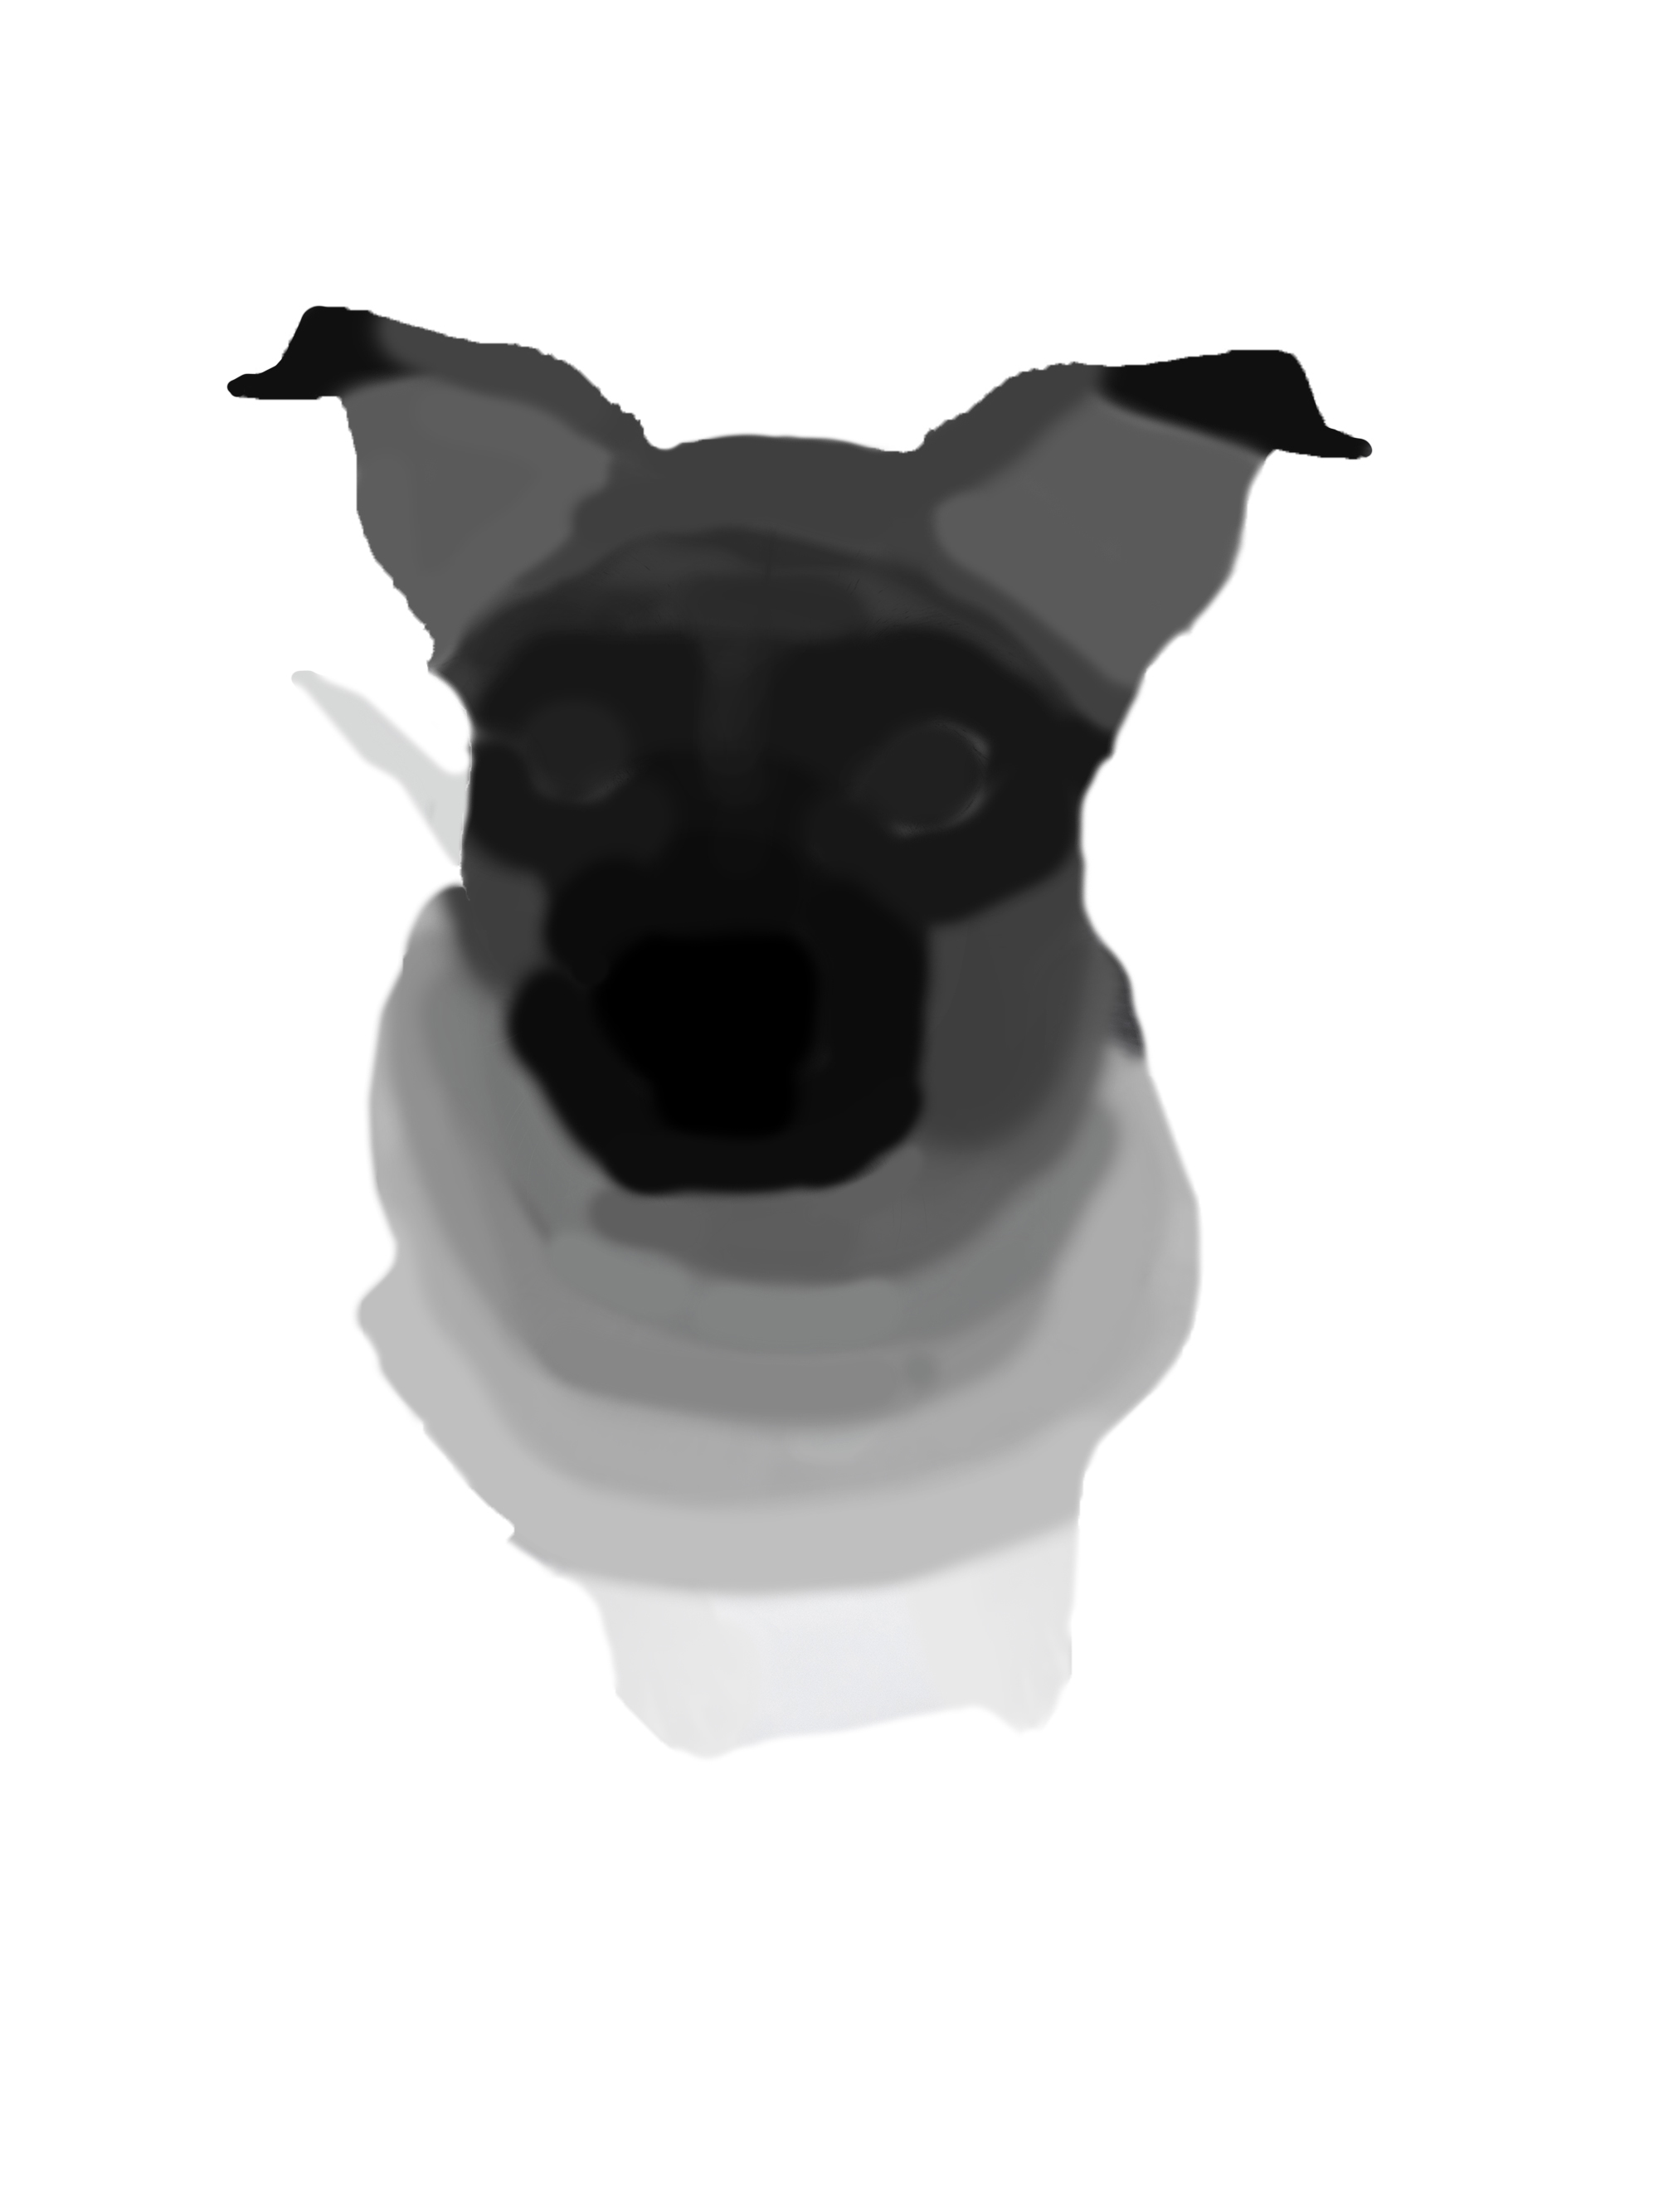
2. Create a depth map
Next, we’re going to create the depth map in Photoshop so that Facebook can render the image correctly.
Begin by roughly shading the image according to the depth you think is accurate. This takes several tries and is a process of refinement, so don’t worry too much about your first draft.
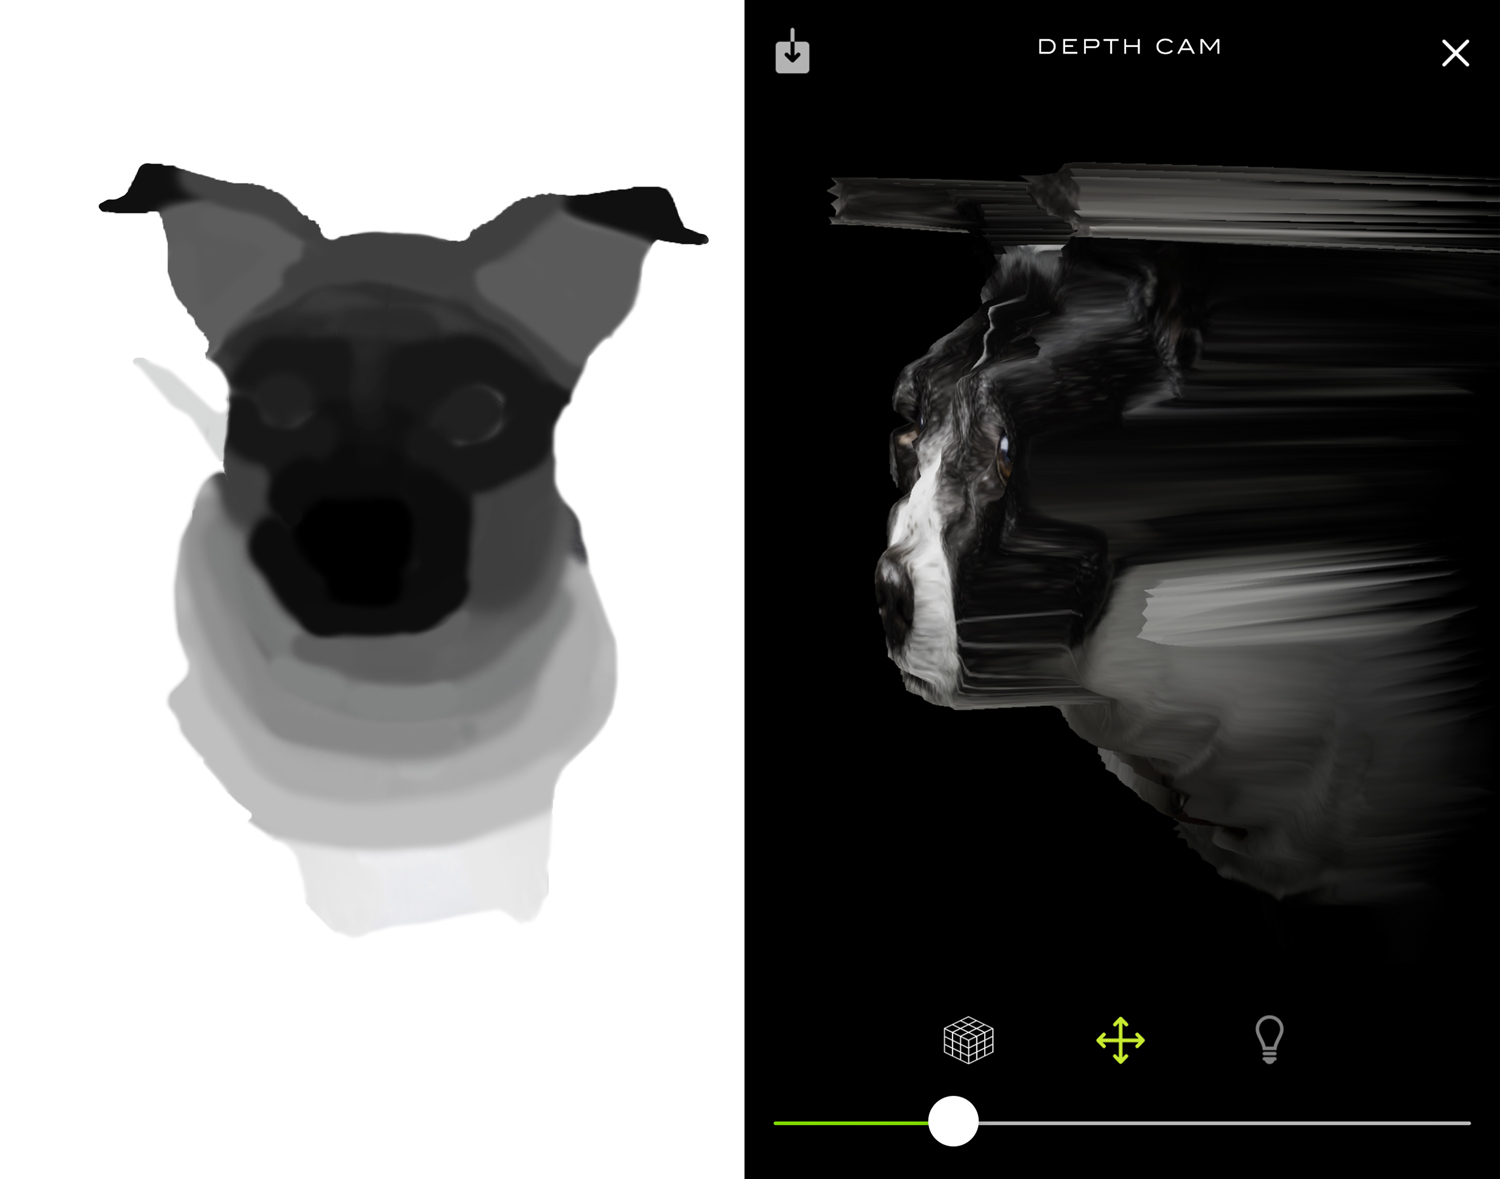
3. Test and refine
Export your depth map out as a JPG and send it to your phone along with the original colored JPG (I prefer airdropping it since it’s much faster). Once in your phone, open DepthCam and test the image with your depth map. This will give you an idea of which areas need to be shaded lighter or darker to either push or pull the image.
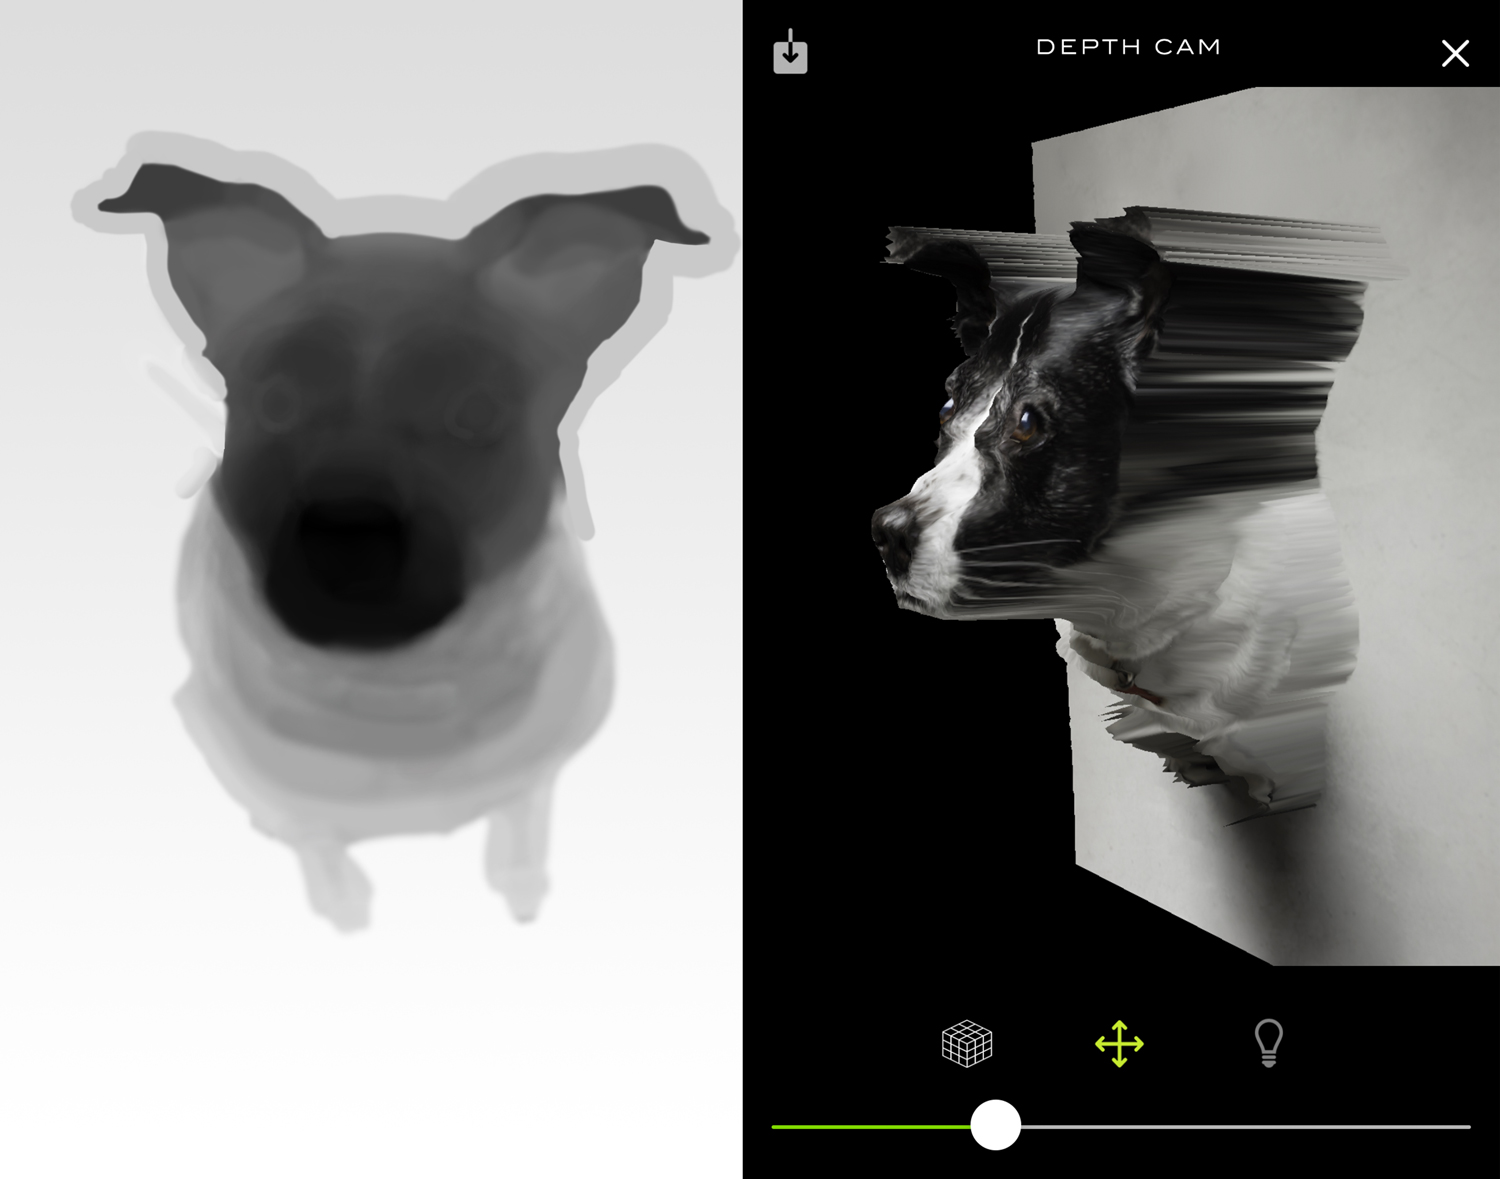
As you continue to refine the depth map, you might want to test the progress out in the Facebook app. To do this, just export a 3D image for Facebook (a save-out option on DepthCam). Use this information to refine your depth map in Photoshop and export it back out to test again.
Here are all the iterations I went through with this example.

Yeah, not a fast process by any means. However, when you are done, you’ll have a 3D image that was impossible to do with just your smartphone.
4. Finish out
One you’re satisfied with your work, use DepthCam again to export the final version as a 3D image to Facebook and post it to your feed.
Want help creating content like this for your social channels? Contact us.
Tags: How–to, Design, PR & Social Media